Curing a Clay Chiminea
- Post created by: Simon D.
- 11 Feb 2022
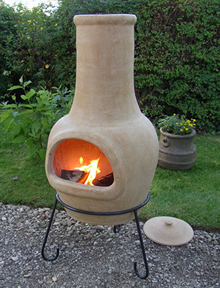
If you purchase a Clay Chiminea, it is important to follow the step by step curing process outlined below. Curing your chiminea hardens the clay and accustoms it to the heat ensuring that it is much less likely to crack when being exposed to high temperatures.
Step One: Build a small fire using small balls of paper, allow this fire to extinguish naturally and the chiminea cool.
Step Two: Line the chimineas bowl with sand and build a slightly larger fire using small pieces of wood or kindling. Again, allow the fire to extinguish naturally and the chiminea to cool.
Step Three: Repeat Step Two a further three times, gradually increasing the size of the fire. It is important that you allow the fire to burn out naturally each time.
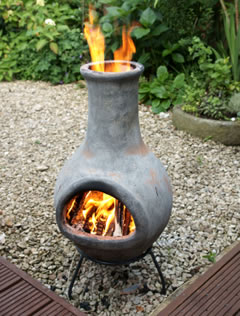
Over Fired Chiminea
After following these three simple steps, you are good to go. It is advisable that you line the base of the chiminea with sand or lava rocks to further protect the clay from the high temperatures it will be exposed to.
We recommend that you burn firewood or kindling in a clay chiminea as they burn at a lower temperature to charcoal or briquettes.
Even after your chiminea has been cured, it is vital to regulate the size of the fires that burn. If the chiminea is over loaded with fuel and the resulting fire is large it could cause damage to the chiminea.
Like this post? Why not share it!
Tags
- Tags linked to this post:
- Chiminea (5)
Recent Posts
Comments
There have not been any comments on this post yet. Why not make the first?
You must be signed in to comment on our blog
Sign in now